🍓✨ Your Raspberry Pi Adventure Begins: Installing the OS!
Ready to bring your Raspberry Pi to life? Let's jump right in and install its operating system! It's easier than you think. 🚀
1Grab Your Magic Wand 🧙
First, download the Raspberry Pi Imager from the official website:
https://www.raspberrypi.com/software/
Install it like any other program — easy peasy! 🎯
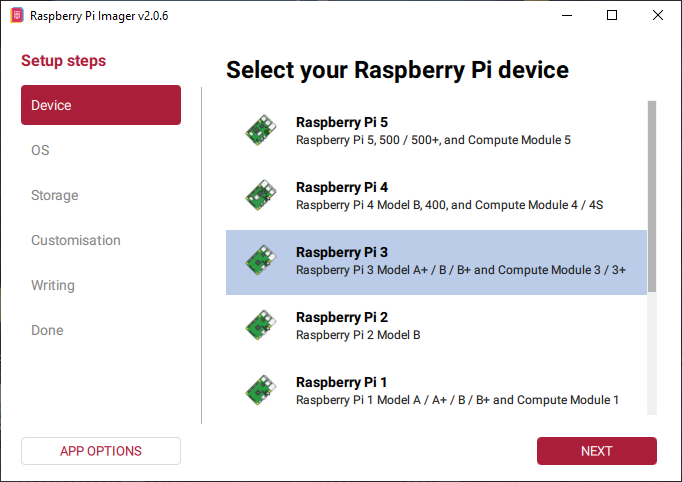
2Fire Up the Imager! 🔥
Open the Imager and select your Raspberry Pi model from the list, then hit Next:
3Pick Your OS Flavor 🍦
Time to choose an operating system! Click Raspberry Pi OS (other) and hit Next — that's where the headless (no desktop) version lives:
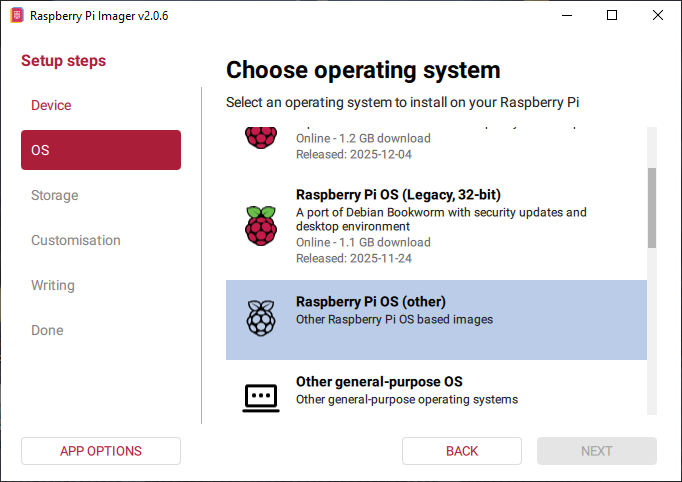
Now, select Raspberry Pi OS Lite (64-bit) and click Next:

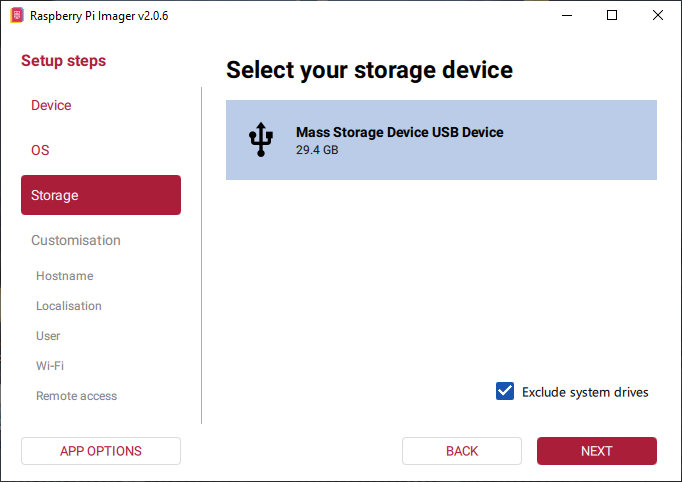
4Choose Your Canvas 🎨
Pick your SD card from the list — that's where the magic will happen! Click Next:
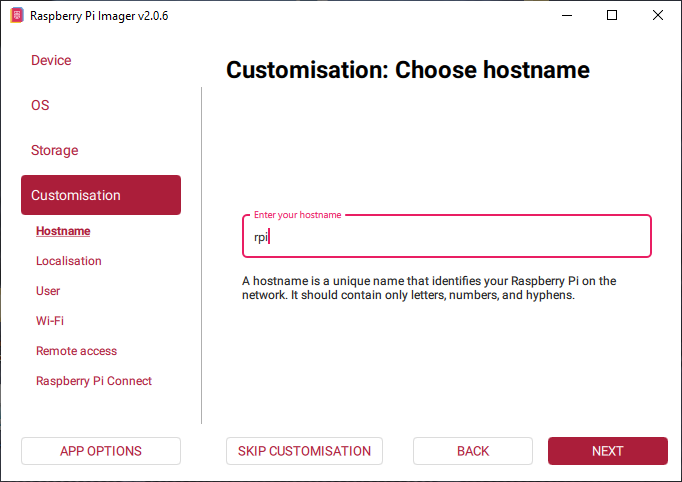
5Let's Customize! 🛠️
This next part is optional, but highly recommended. Let's set things up right from the start!
🎩 Hostname: Give your Pi a cool name! Mine is just rpi, but feel free to get creative:
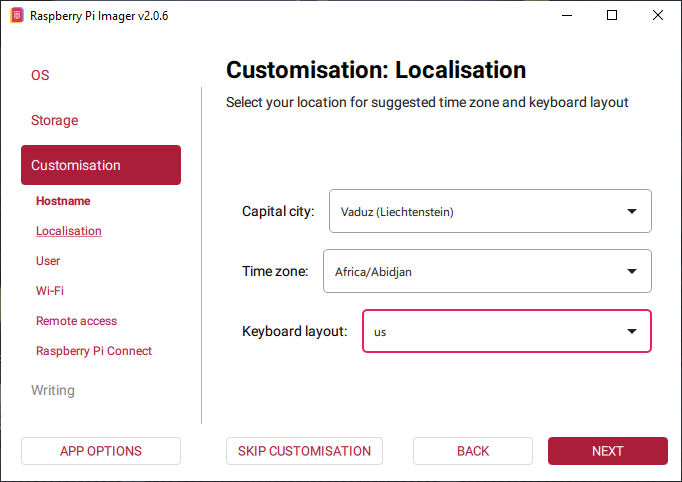
🌍 Localization: Enter your city and time zone. For keyboard layout, choose us — this will save you from keyboard headaches later! ⌨️
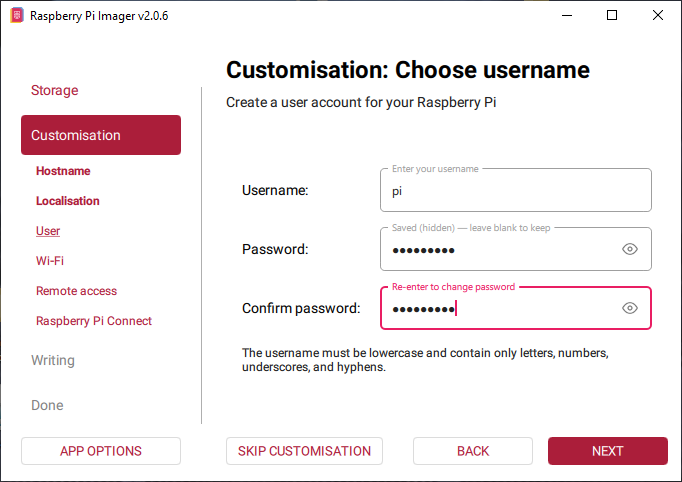
👤 User & Password: Create a username and a strong password. Don't forget these! 🔐
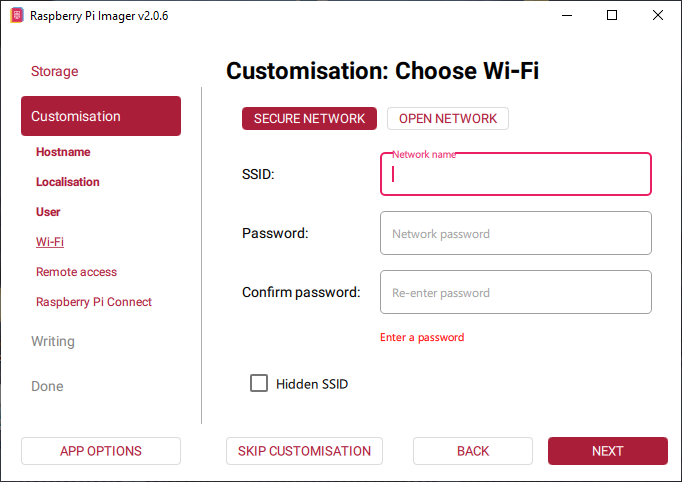
📶 Wi-Fi Setup: Enter your Wi-Fi name and password. If you'd rather use a cable, just skip this step and connect your Pi to the router with an Ethernet cord later:
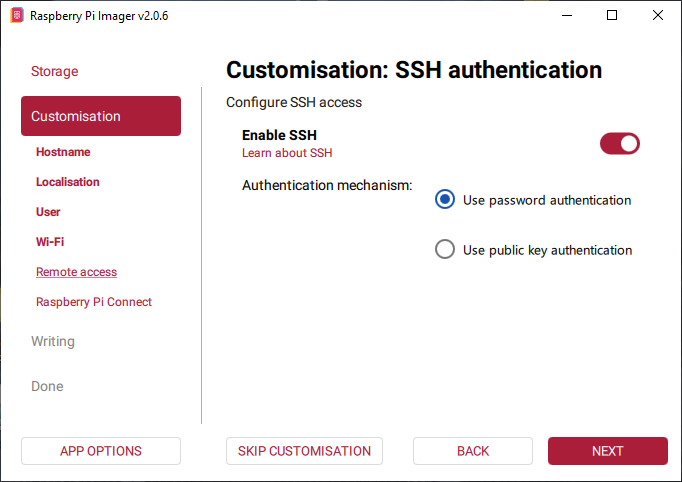
🔐 SSH Authentication: Turn Enable SSH ON and select Use password authentication. This is your golden ticket to connecting from your desktop later! 🎫
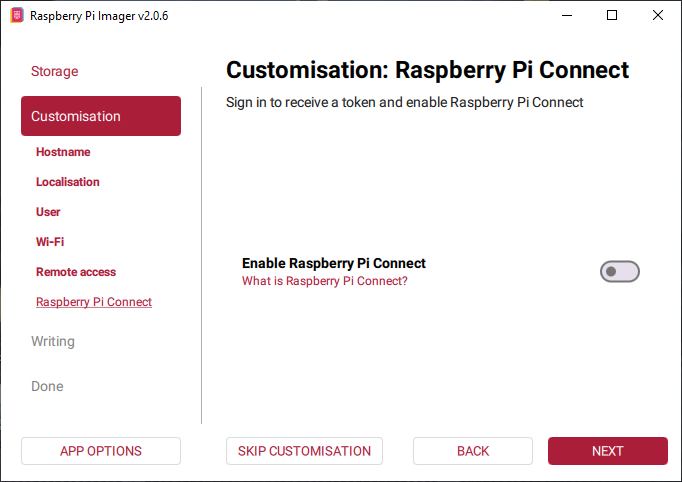
📡 Raspberry Pi Connect: You can safely skip this one — just leave it disabled:
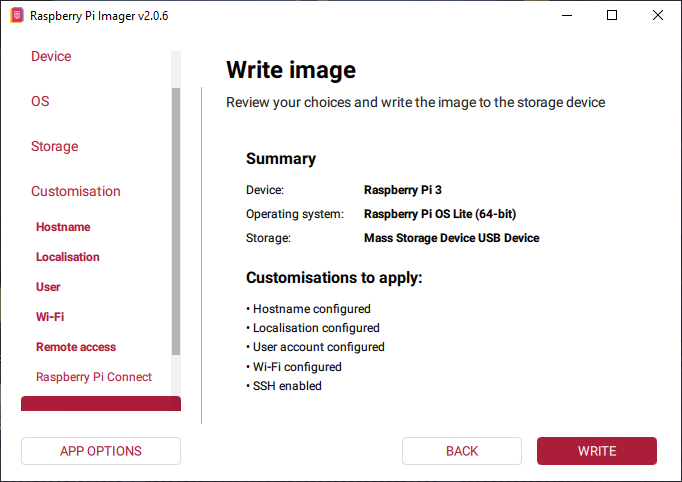
6Let's Write It! ✍️
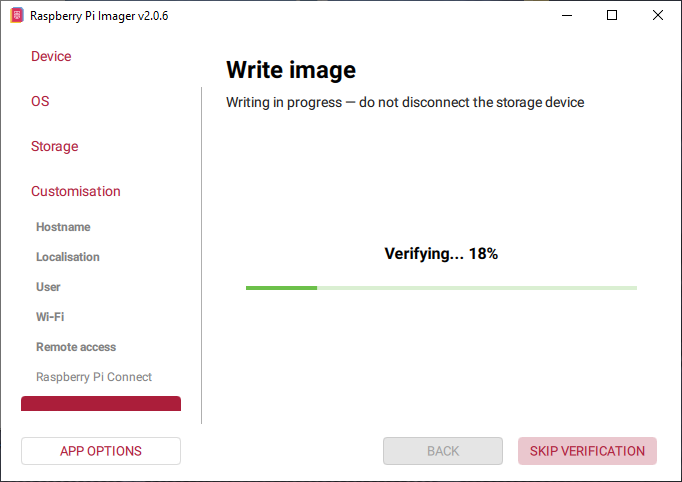
All set? Click Write to start the installation:
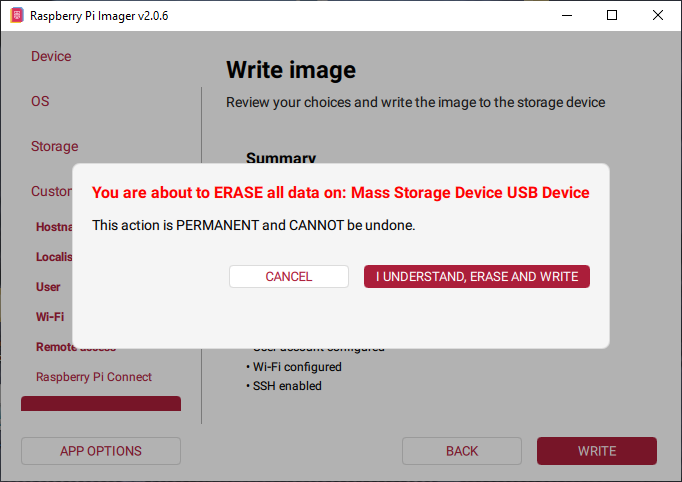
You'll see a friendly warning that your SD card will be erased. Click I UNDERSTAND, ERASE AND WRITE and let the Imager work its magic:
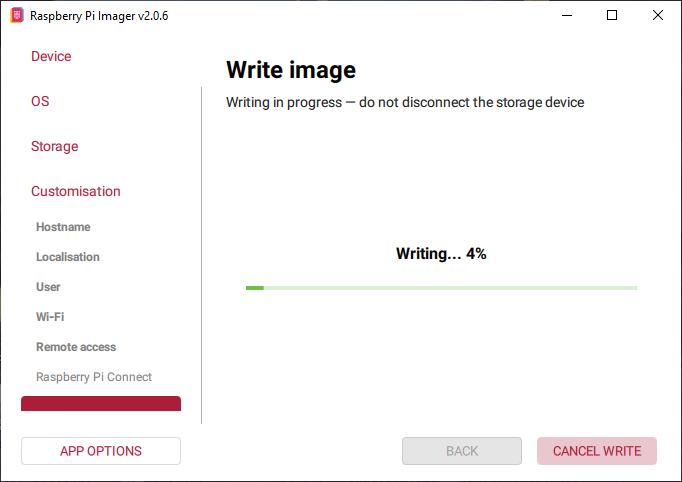
This might take a few minutes (depending on your internet speed), but grab a snack — it should be done in 5-10 minutes! ⏳
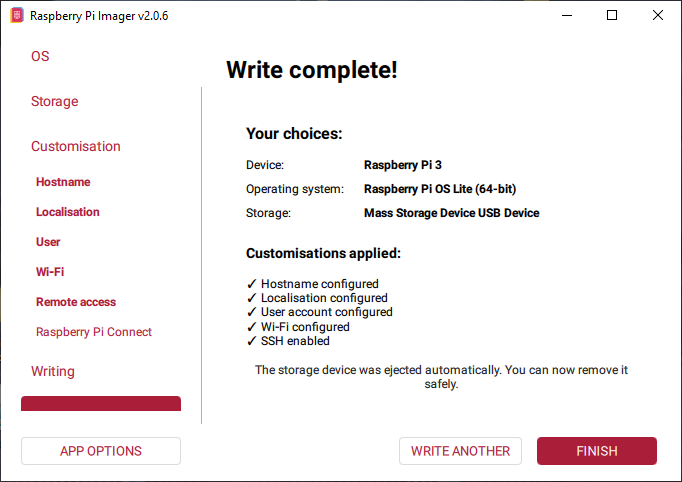
7You Did It! 🎉
When you see Write complete!, celebrate! 🥳 Your OS is ready. Now:
- Eject the SD card from your computer
- Pop it into your Raspberry Pi
- Power it up! ⚡
🎊 Congratulations, Pi Pioneer! 🎊
You've successfully installed an OS on your Raspberry Pi! Give yourself a pat on the back. 🙌
In the next tutorials, we'll explore how to actually use your Pi and install awesome software via SSH. The fun is just beginning!
— Alex Polo 🍍